Here is the end of the MHB posts – unless of course I get curious about another aspect of the fabric. I was thrilled to read Naomi’s comment on the last one, maybe someday someone will comment that they have just published an MHB knitting pattern, my skirt and the Purl Bee cowl are getting lonely. Cast on and bind off considerations are here, markers, increases, decreases and short rows are here.
Button Holes
Since the fabric has been flipped 90 degrees, horizontal buttonholes are now vertical ones, and vertical ones are horizontal. The easiest buttonhole is to work the “thumb trick” in waste yarn: When you reach the area you want to be a buttonhole, knit the stitches in waste yarn. Slip those waste yarn stitches back onto your right needle and knit them with your working yarn. When you are ready to finish them, unpick the waste yarn. You will have loops on the top and bottom, finish them in applied I-cord. This buttonhole will be vertical when finished if your working direction is side to side, and thus may gape and lose it’s button.
For a horizontal buttonhole, work several columns of MHB each with their own strand of yarn, then join them up together with one yarn on the last row. If you edge them with I-cord as you go, they will look bound, especially if you use a provisional cast on for the bottom edge, and graft the i-cord together at the top. This is much less likely to loose it’s button, but annoying to work. You can avoid the grafting and provisional cast on if you add your i-cord stitches with a Christmas Tree Increase – using the center stitch for one of the i-cord stitches, and then cap the cable with the i-cord as if it were the top of a ring cable.
Frankly, both buttonhole methods are a pain. I’d rather apply I-cord later as loops for buttons, or skip the whole problem and sew in a zipped closure. But you are surely not as lazy as I am.
Grafting
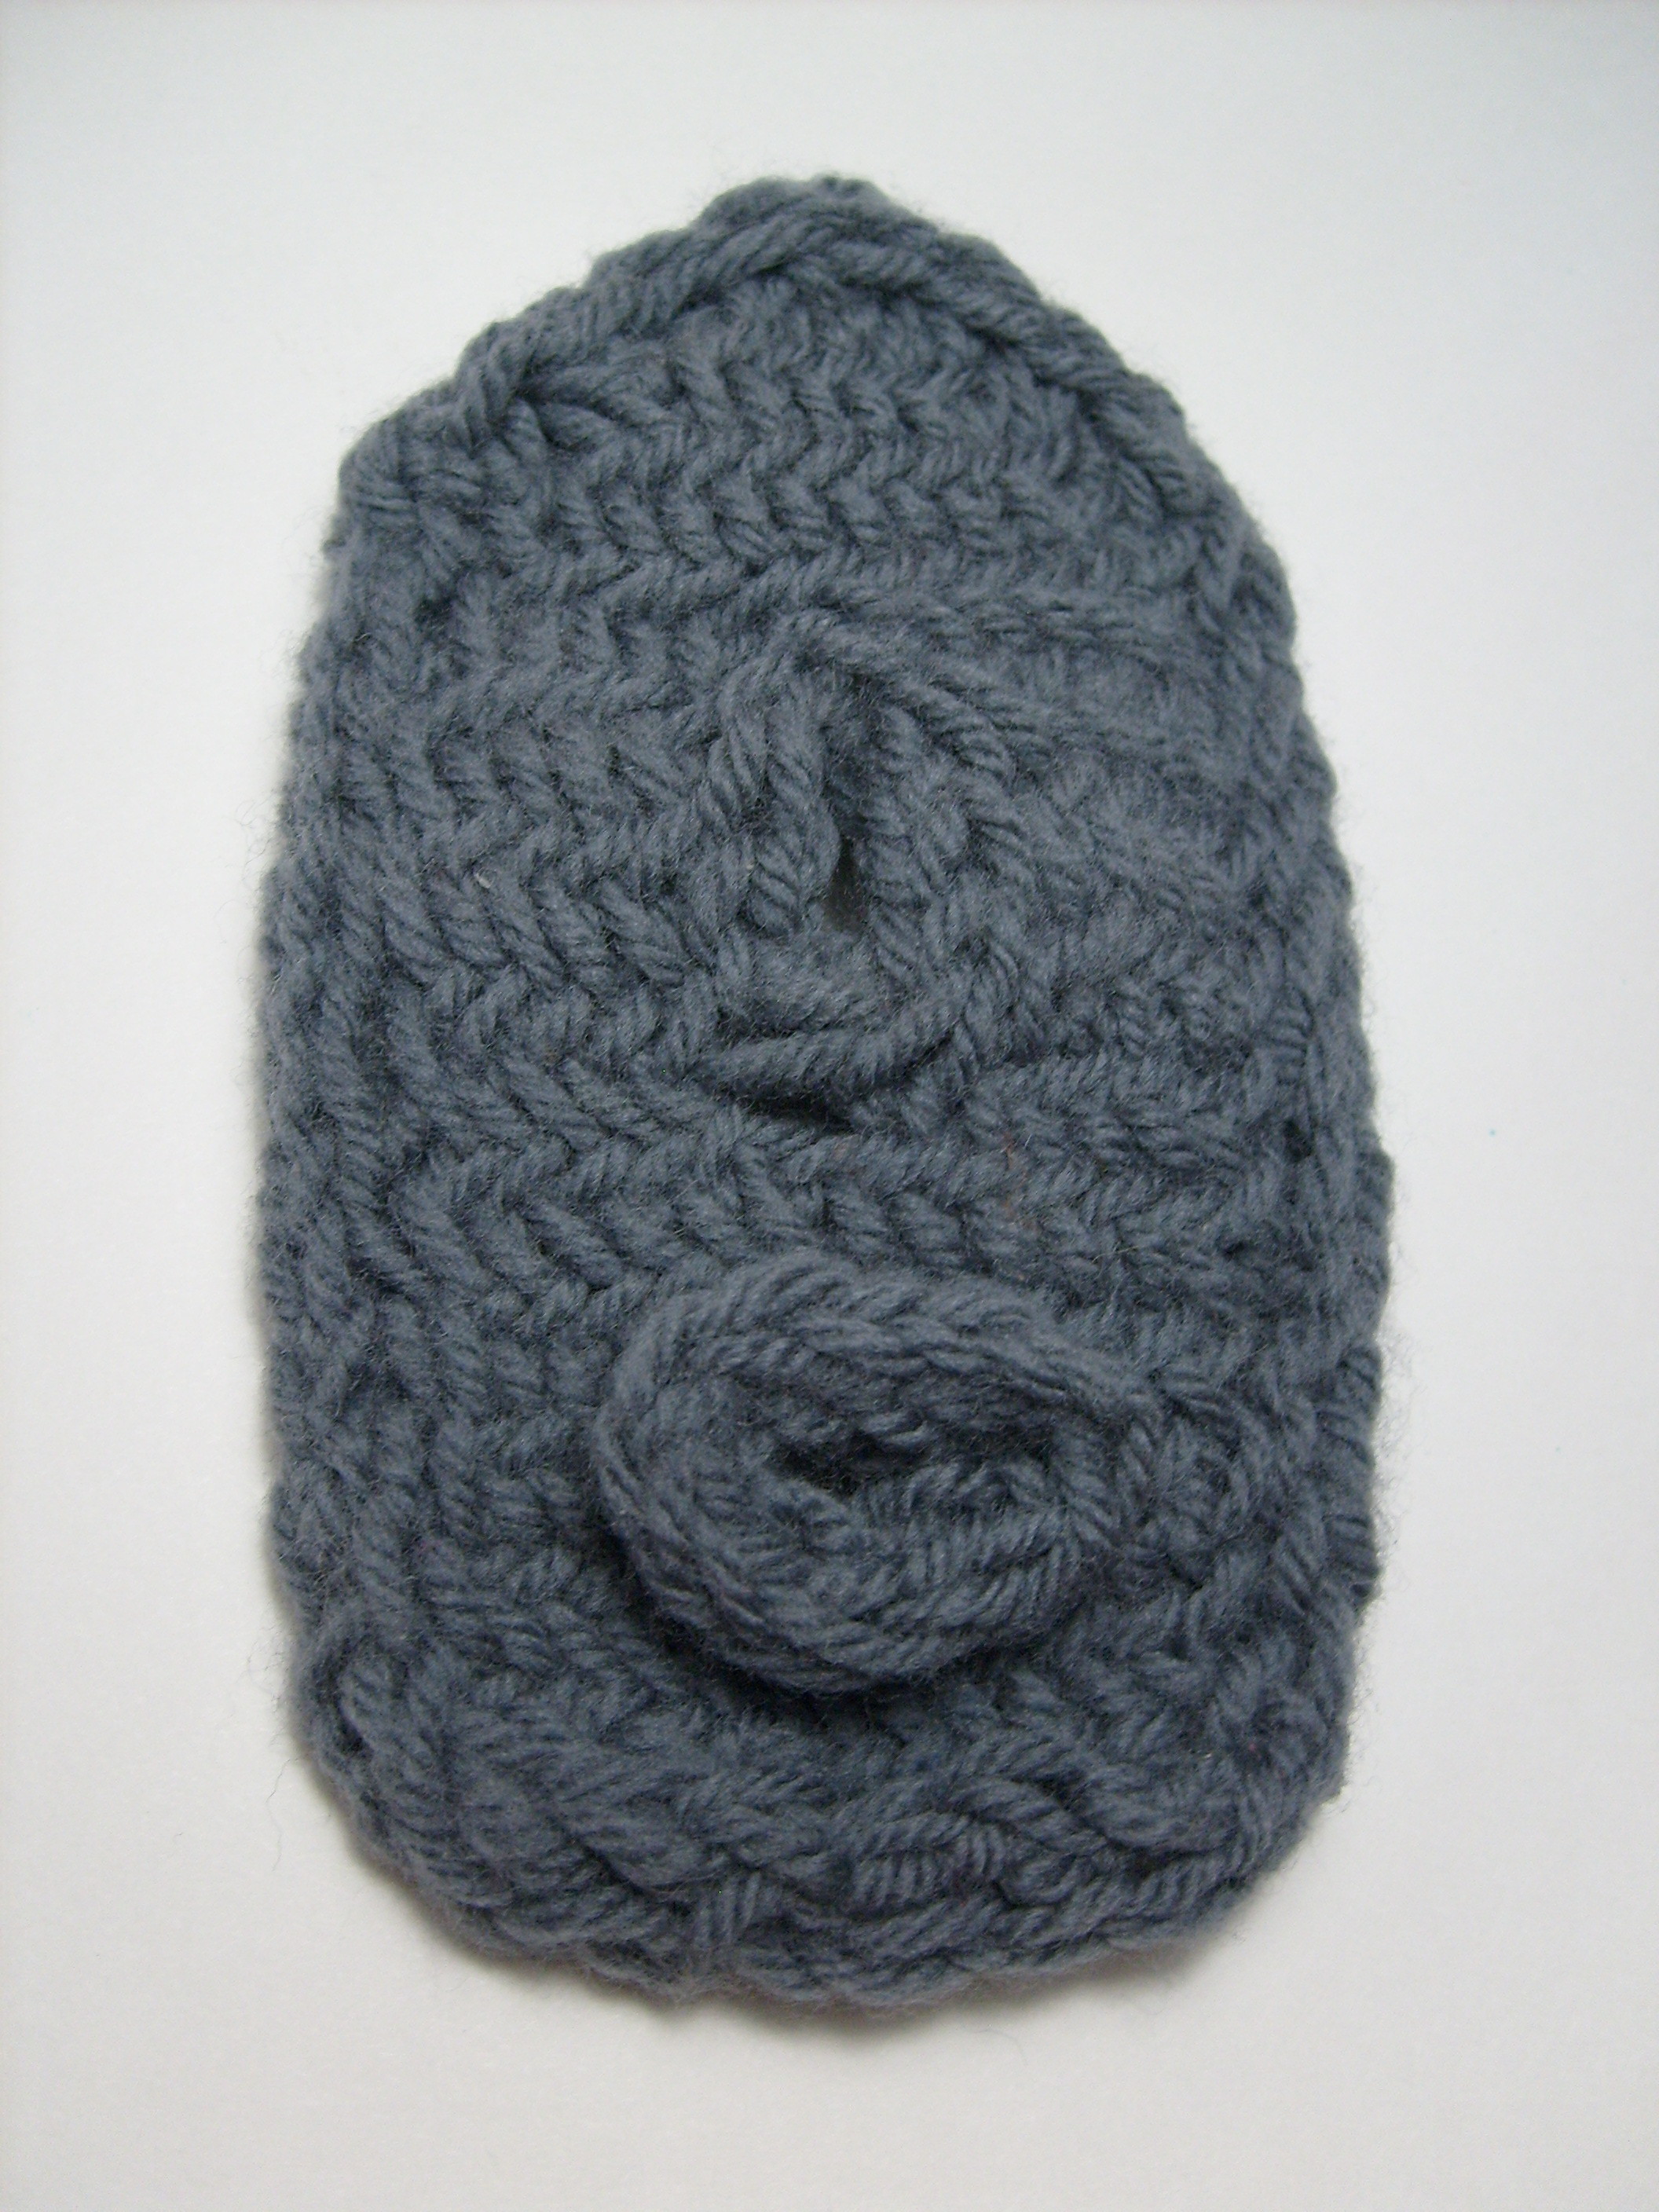
You can seam the cast on edge to the cast off edge neatly and beautifully if you have left stockinette hems; but in a mitten or slipper, you don’t want bulky seams any more than you want horizontal herringbones. Fortunately in the course of my obsessions I have figured out how to graft this stitch.
When I first tried to trace the yarn as it moved through the stitch the depths eluded me. It came to me that if I knitted a row in cotton thread, then continued the swatch with yarn, I could see what was going on. That did work. I saw that the stitches on the lower working needle were all knit twice, but the stitches being formed were only worked once
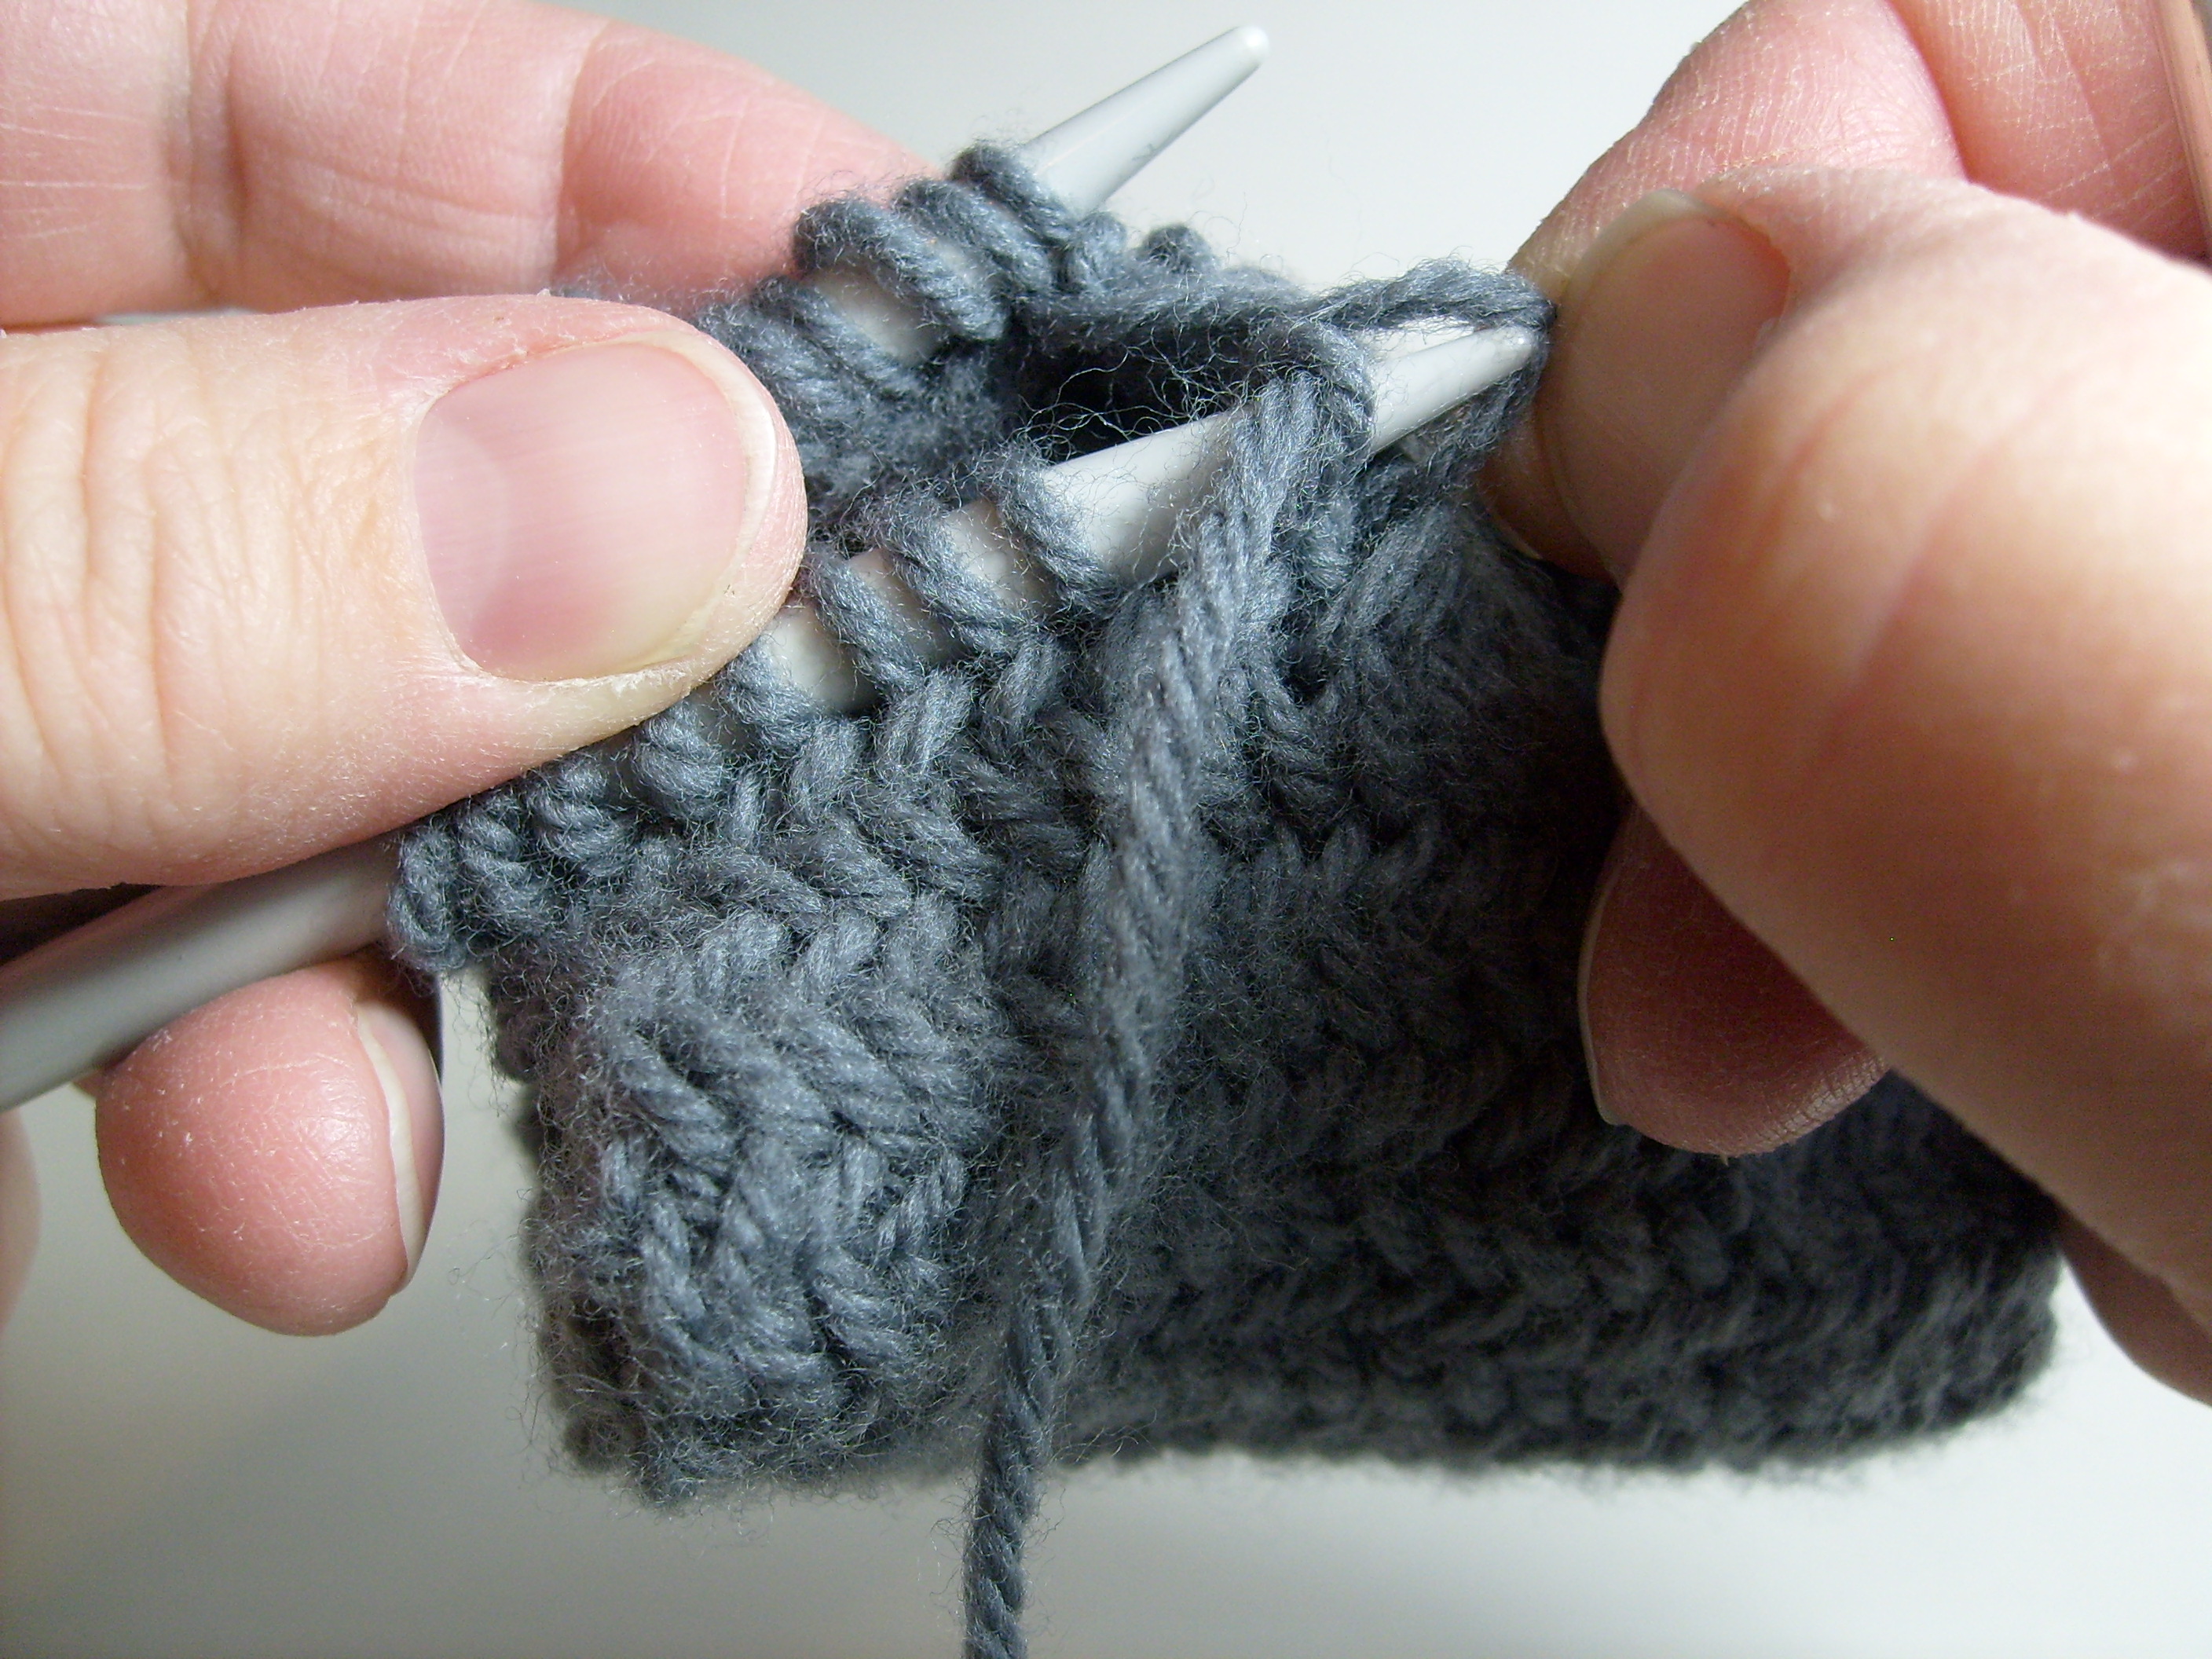
Hold the two edges you are going to graft together. Both the finished rows should slant in the same direction: uphill from left to right. If they don’t, add or subtract a row so that they match. You will be adding a row that slants downhill from left to right. It won’t continue the herringbone pattern otherwise.
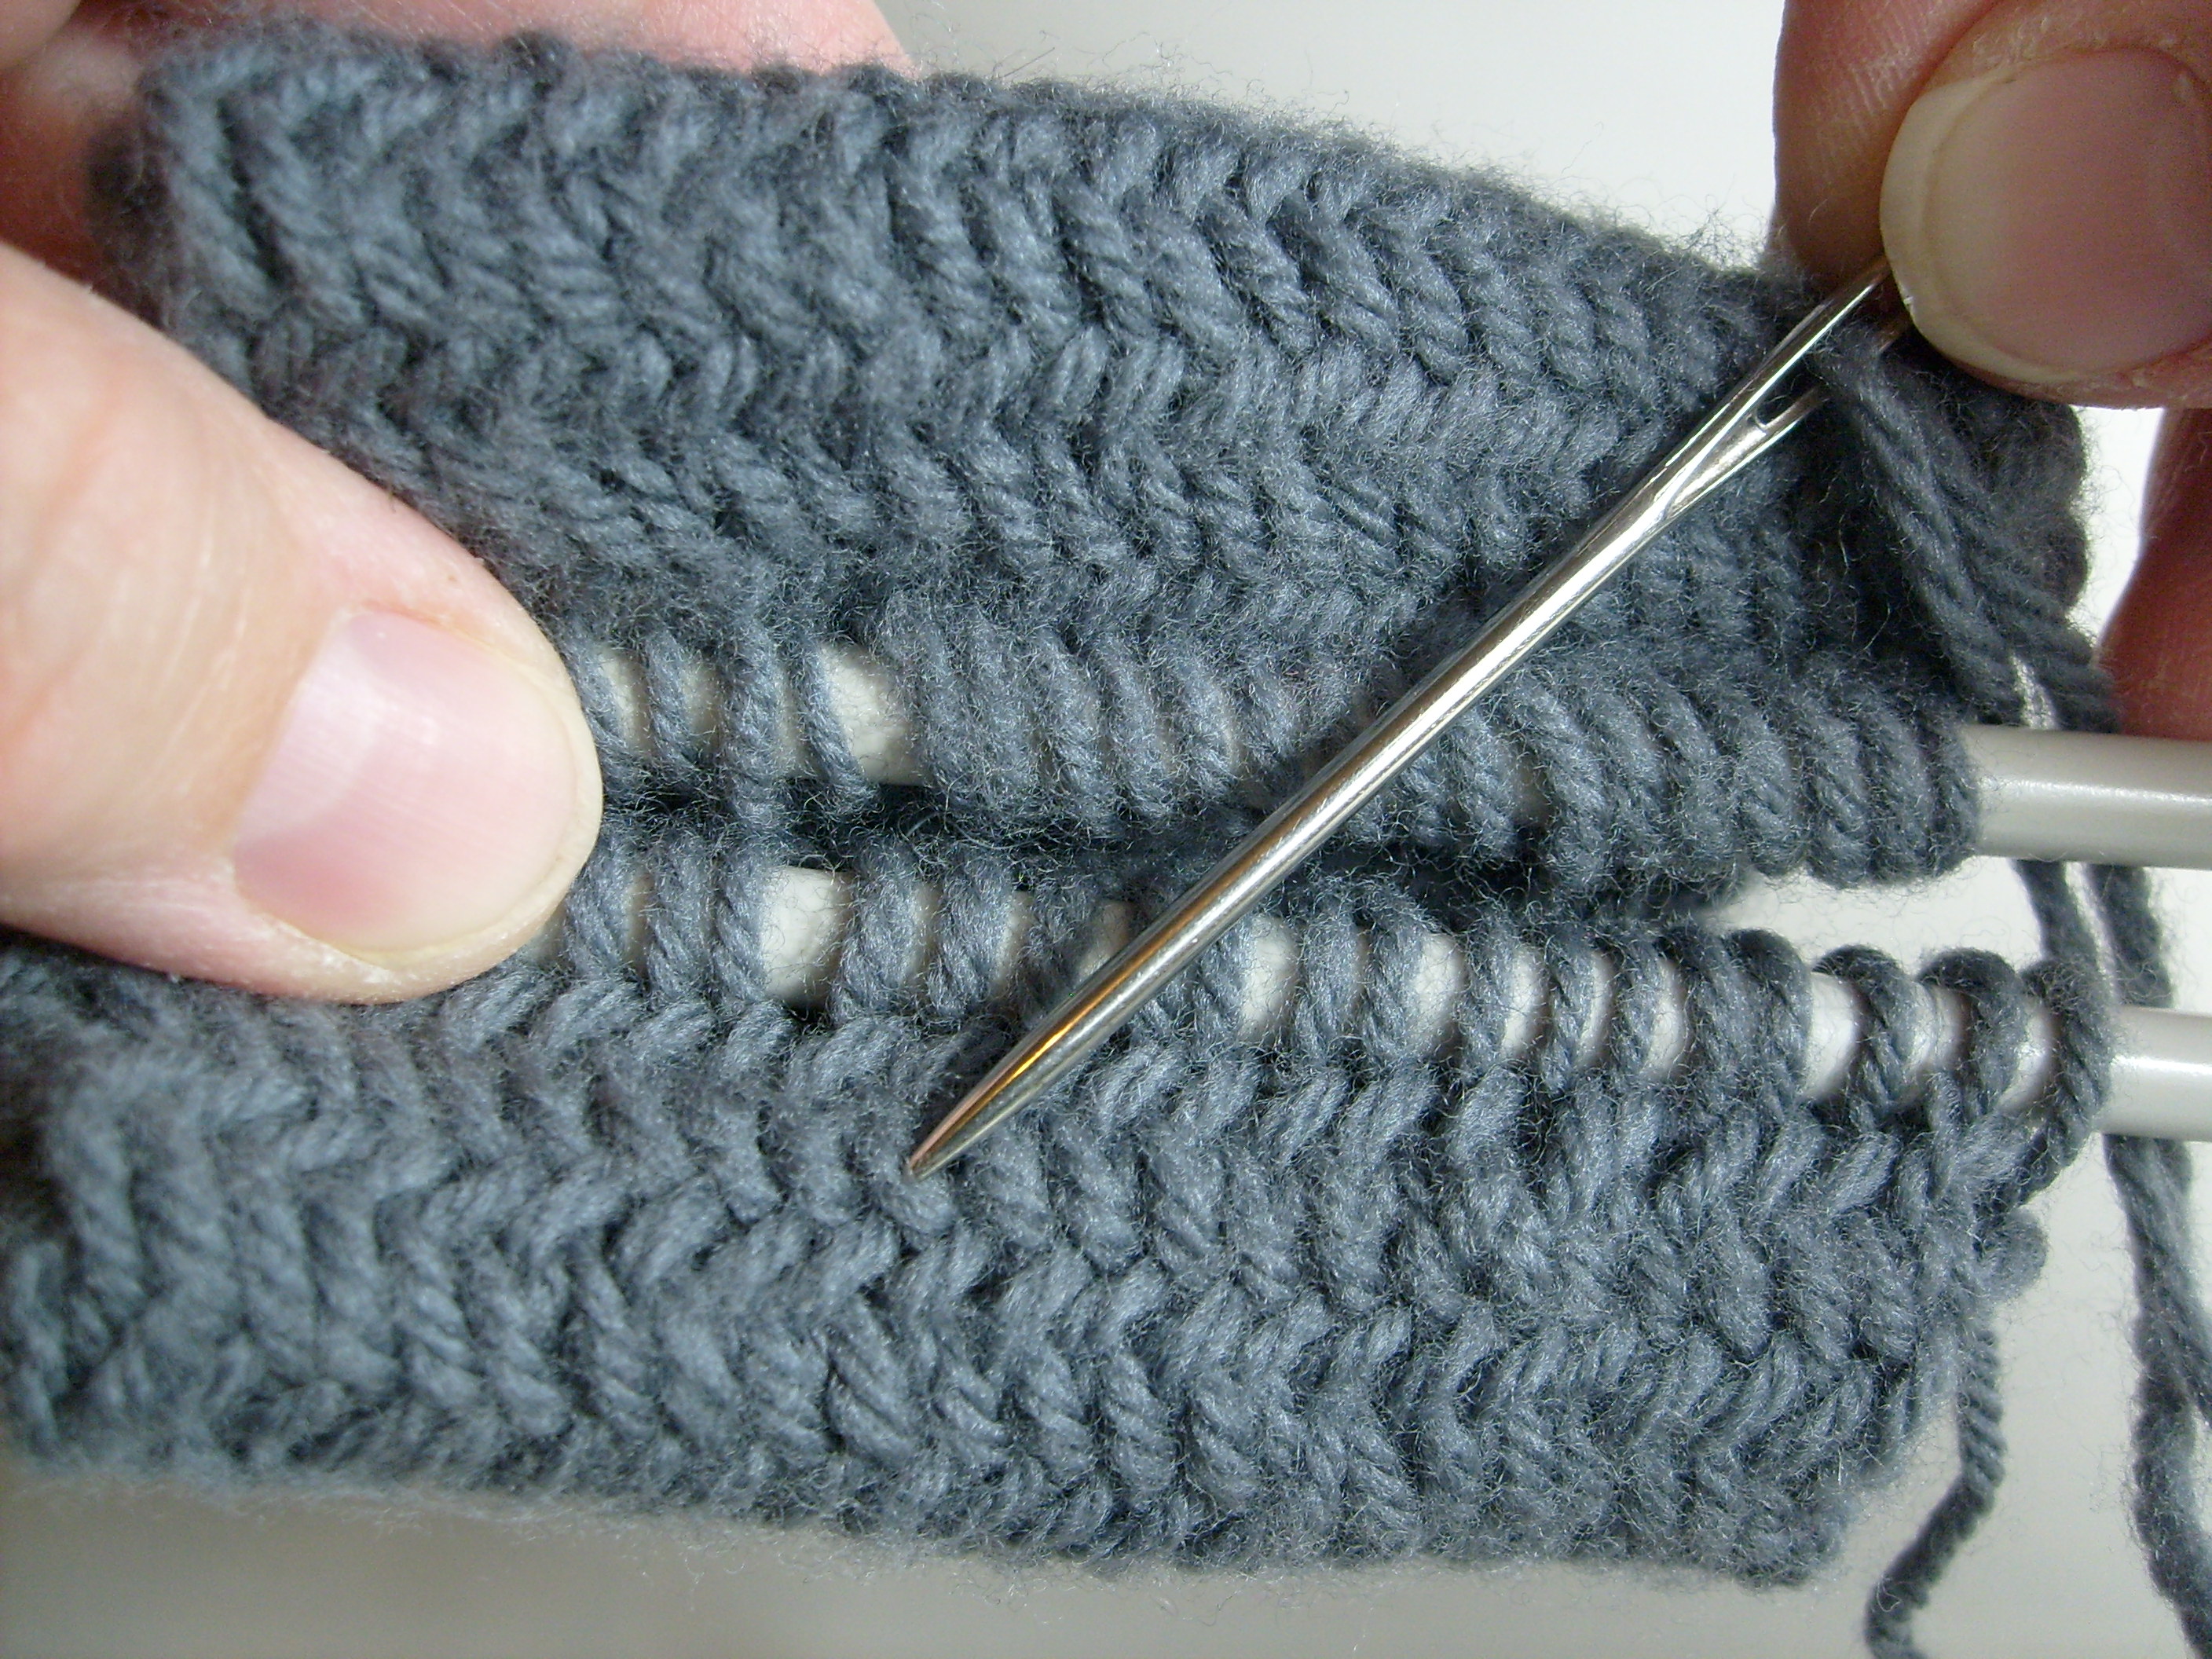
1 Insert the needle knitwise into the first loop on the top knitting needle. Remove this stitch from the needle.
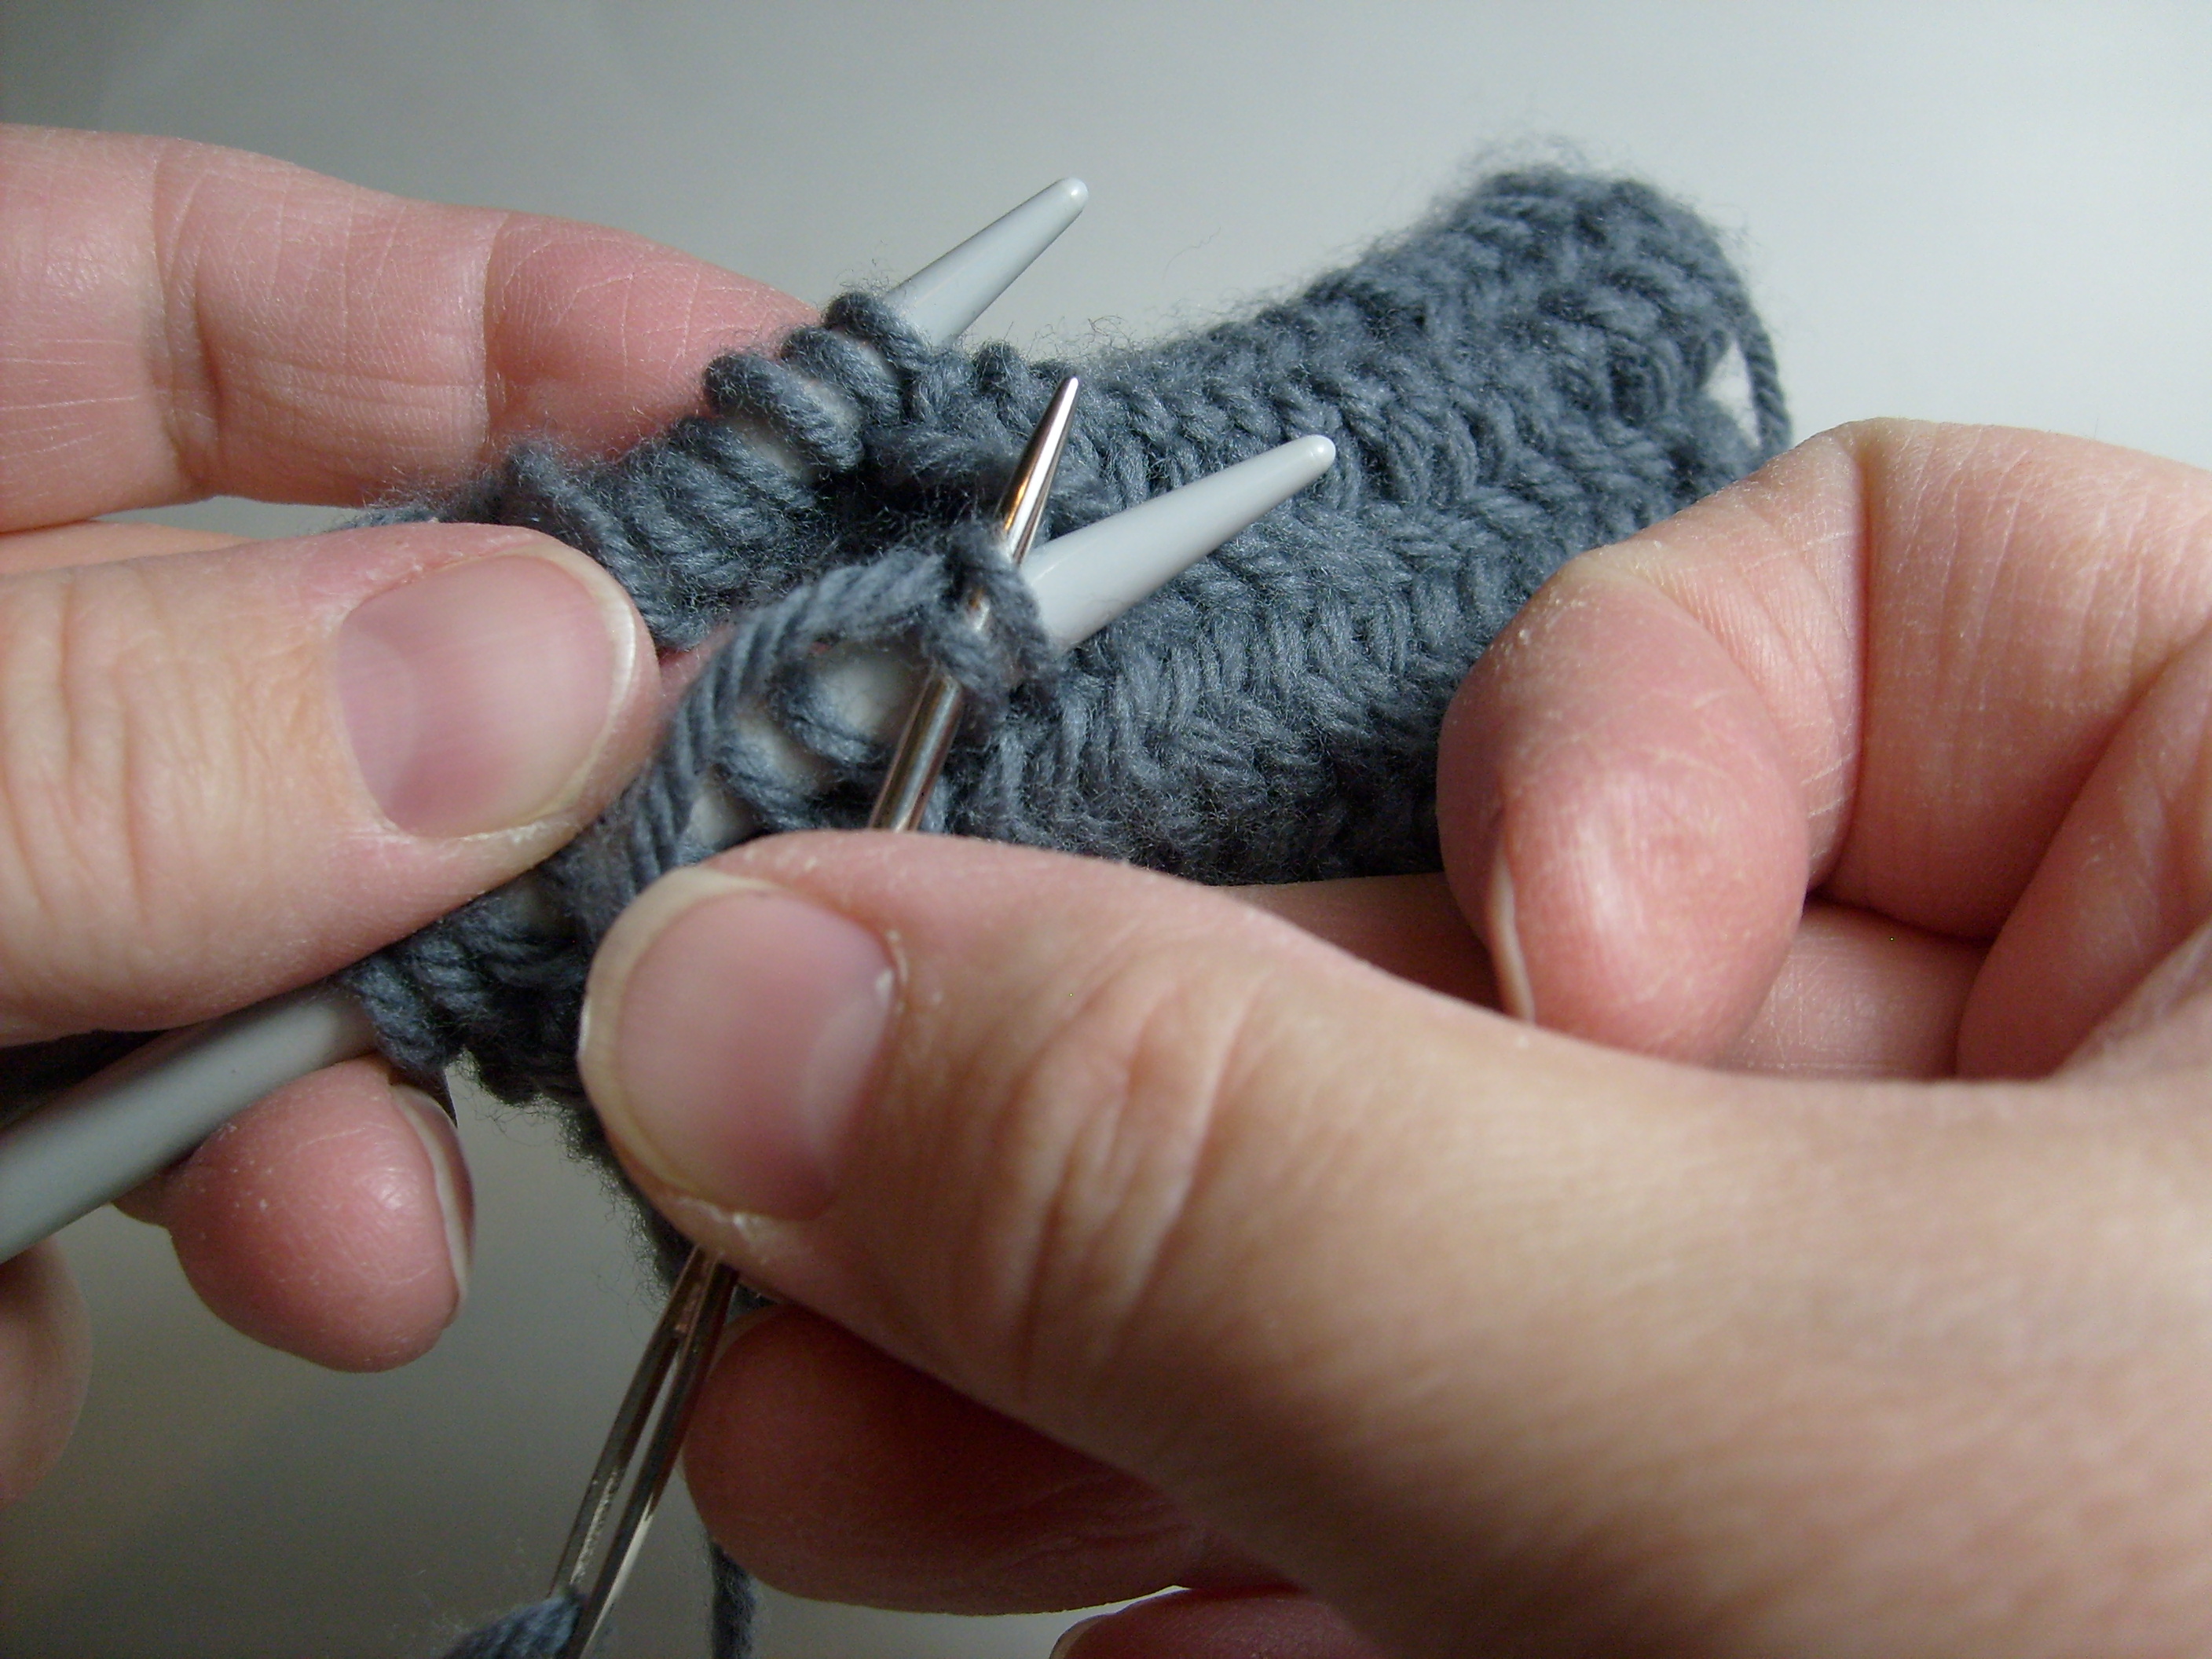
2 Insert the threaded needle into the second stitch from the end knitwise. Pull through.
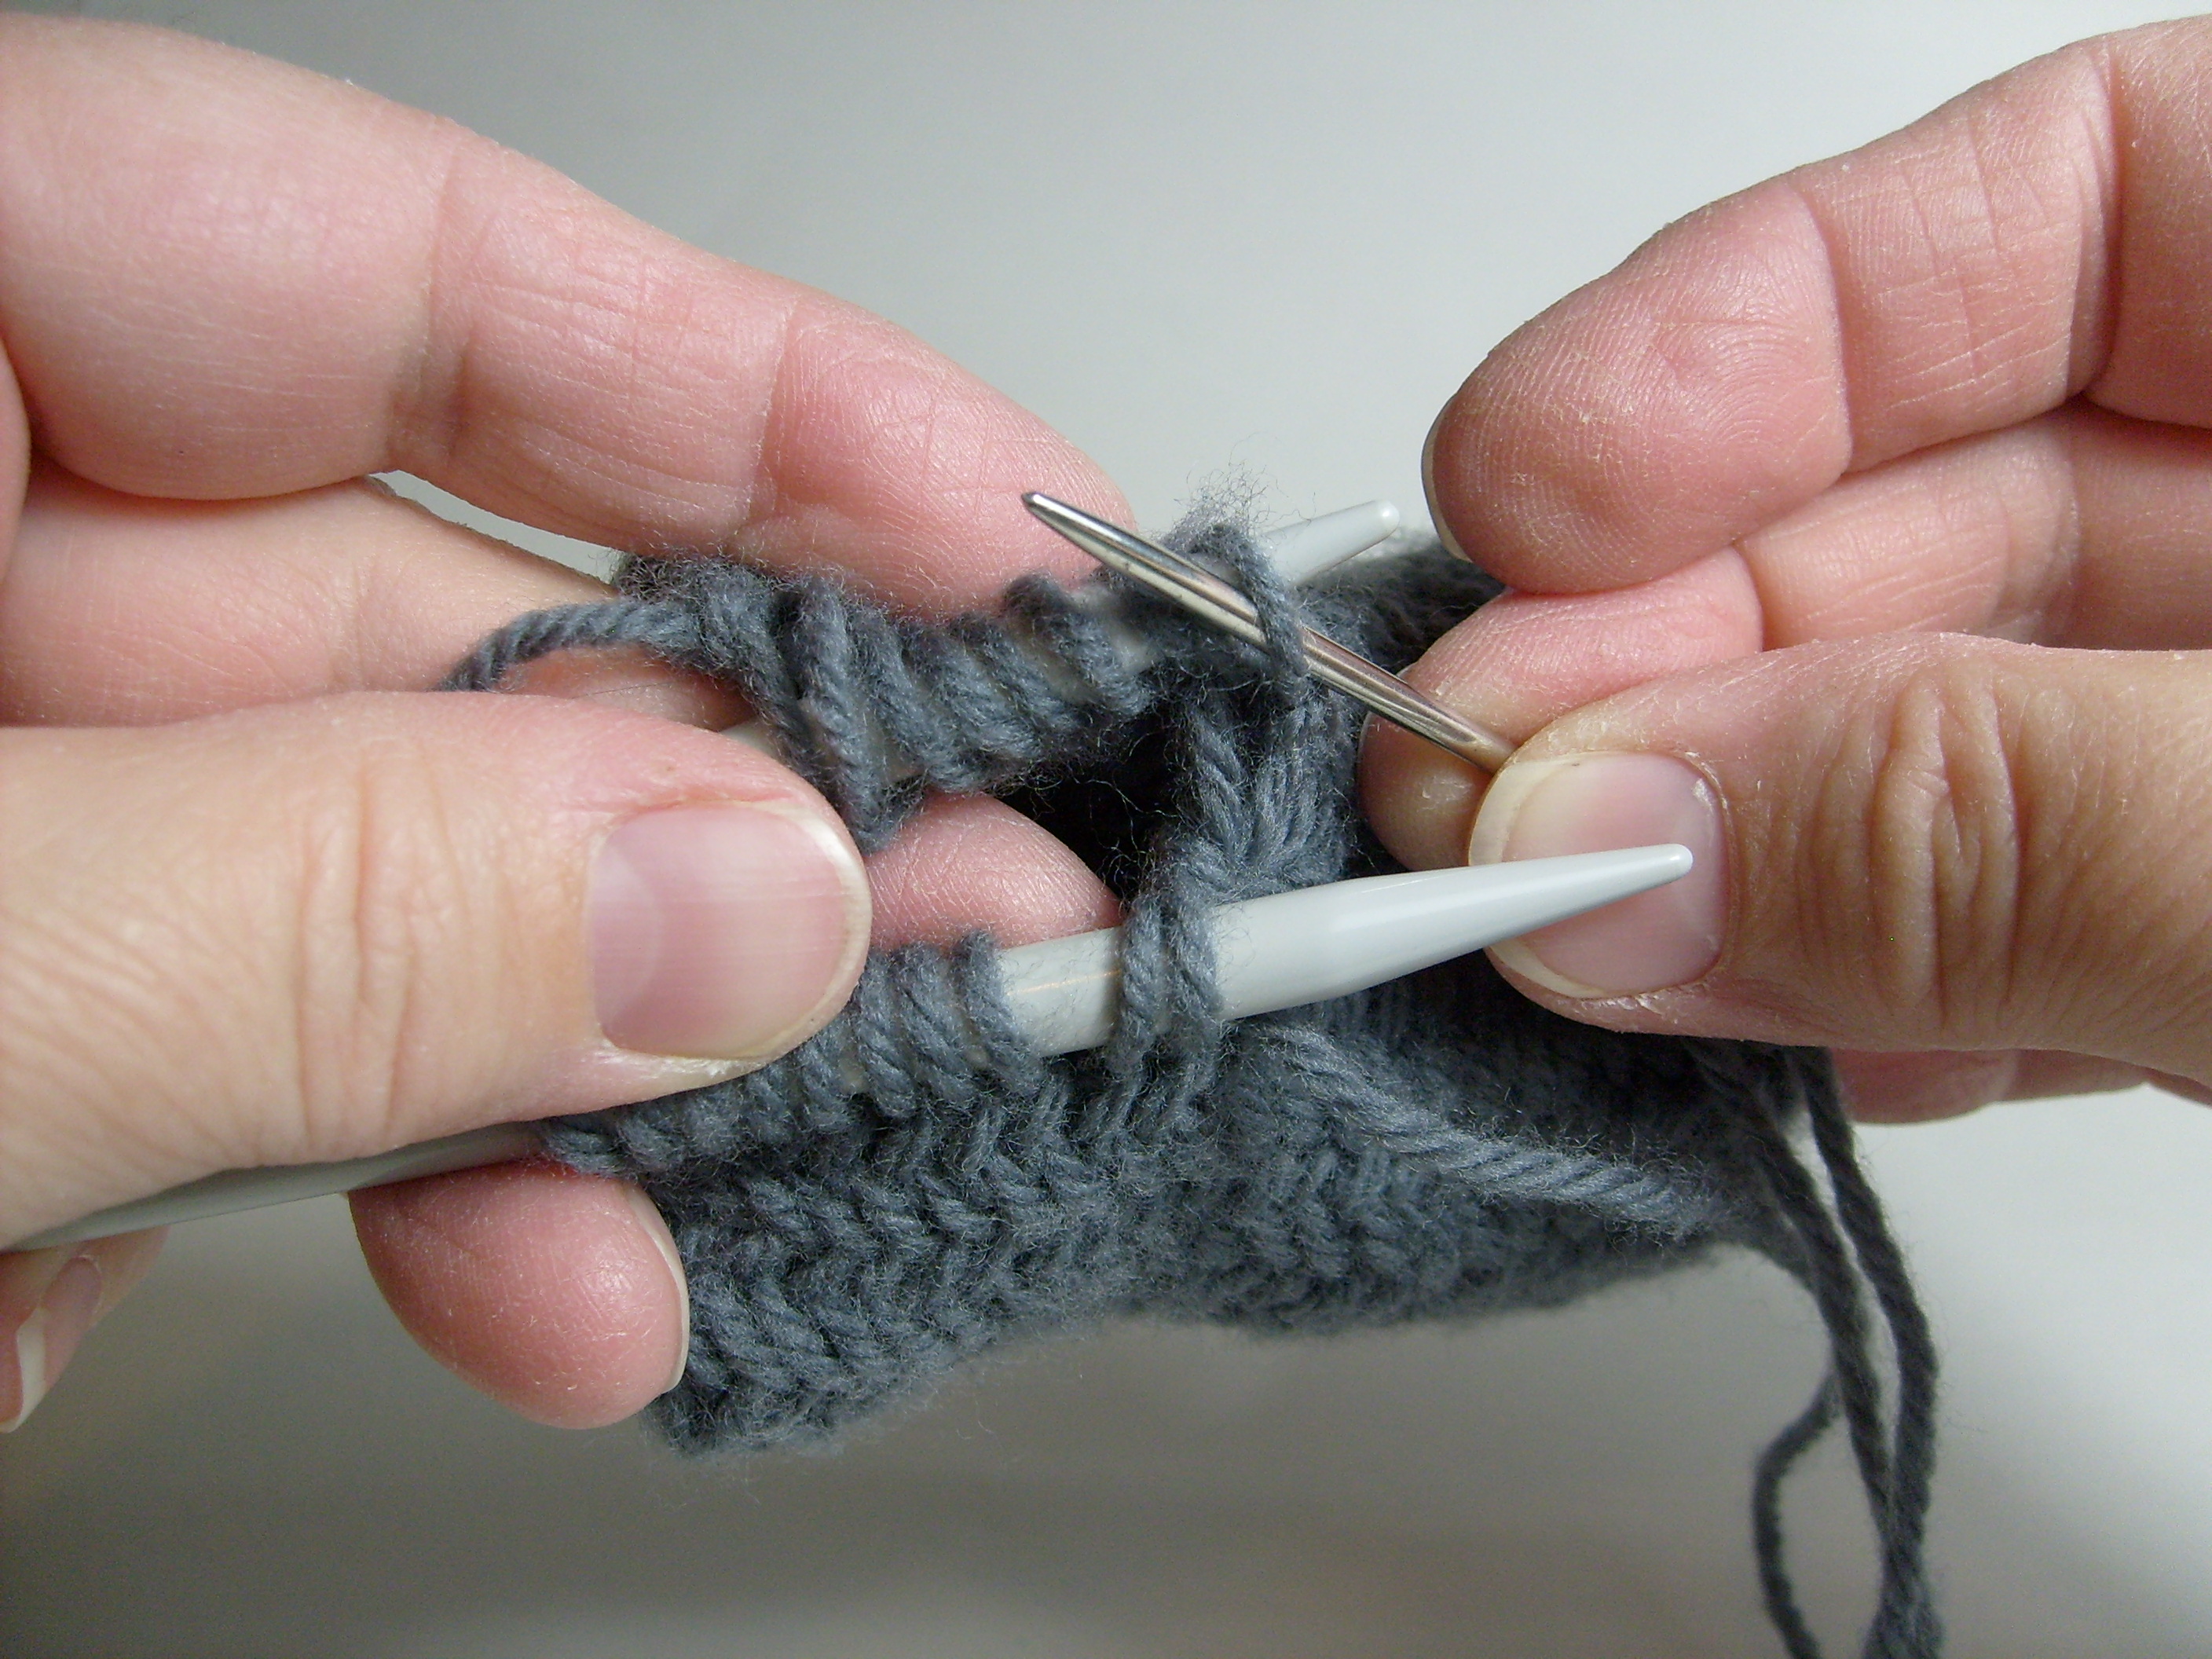
3 Insert the threaded needle throught the first two stitches together on the lower needle through the back loops. Pull through. Remove the stitch closest to the end of the lower knitting needle.
4 Insert the threaded needle from left to right through the back loops of the first two stitches on the lower needle.
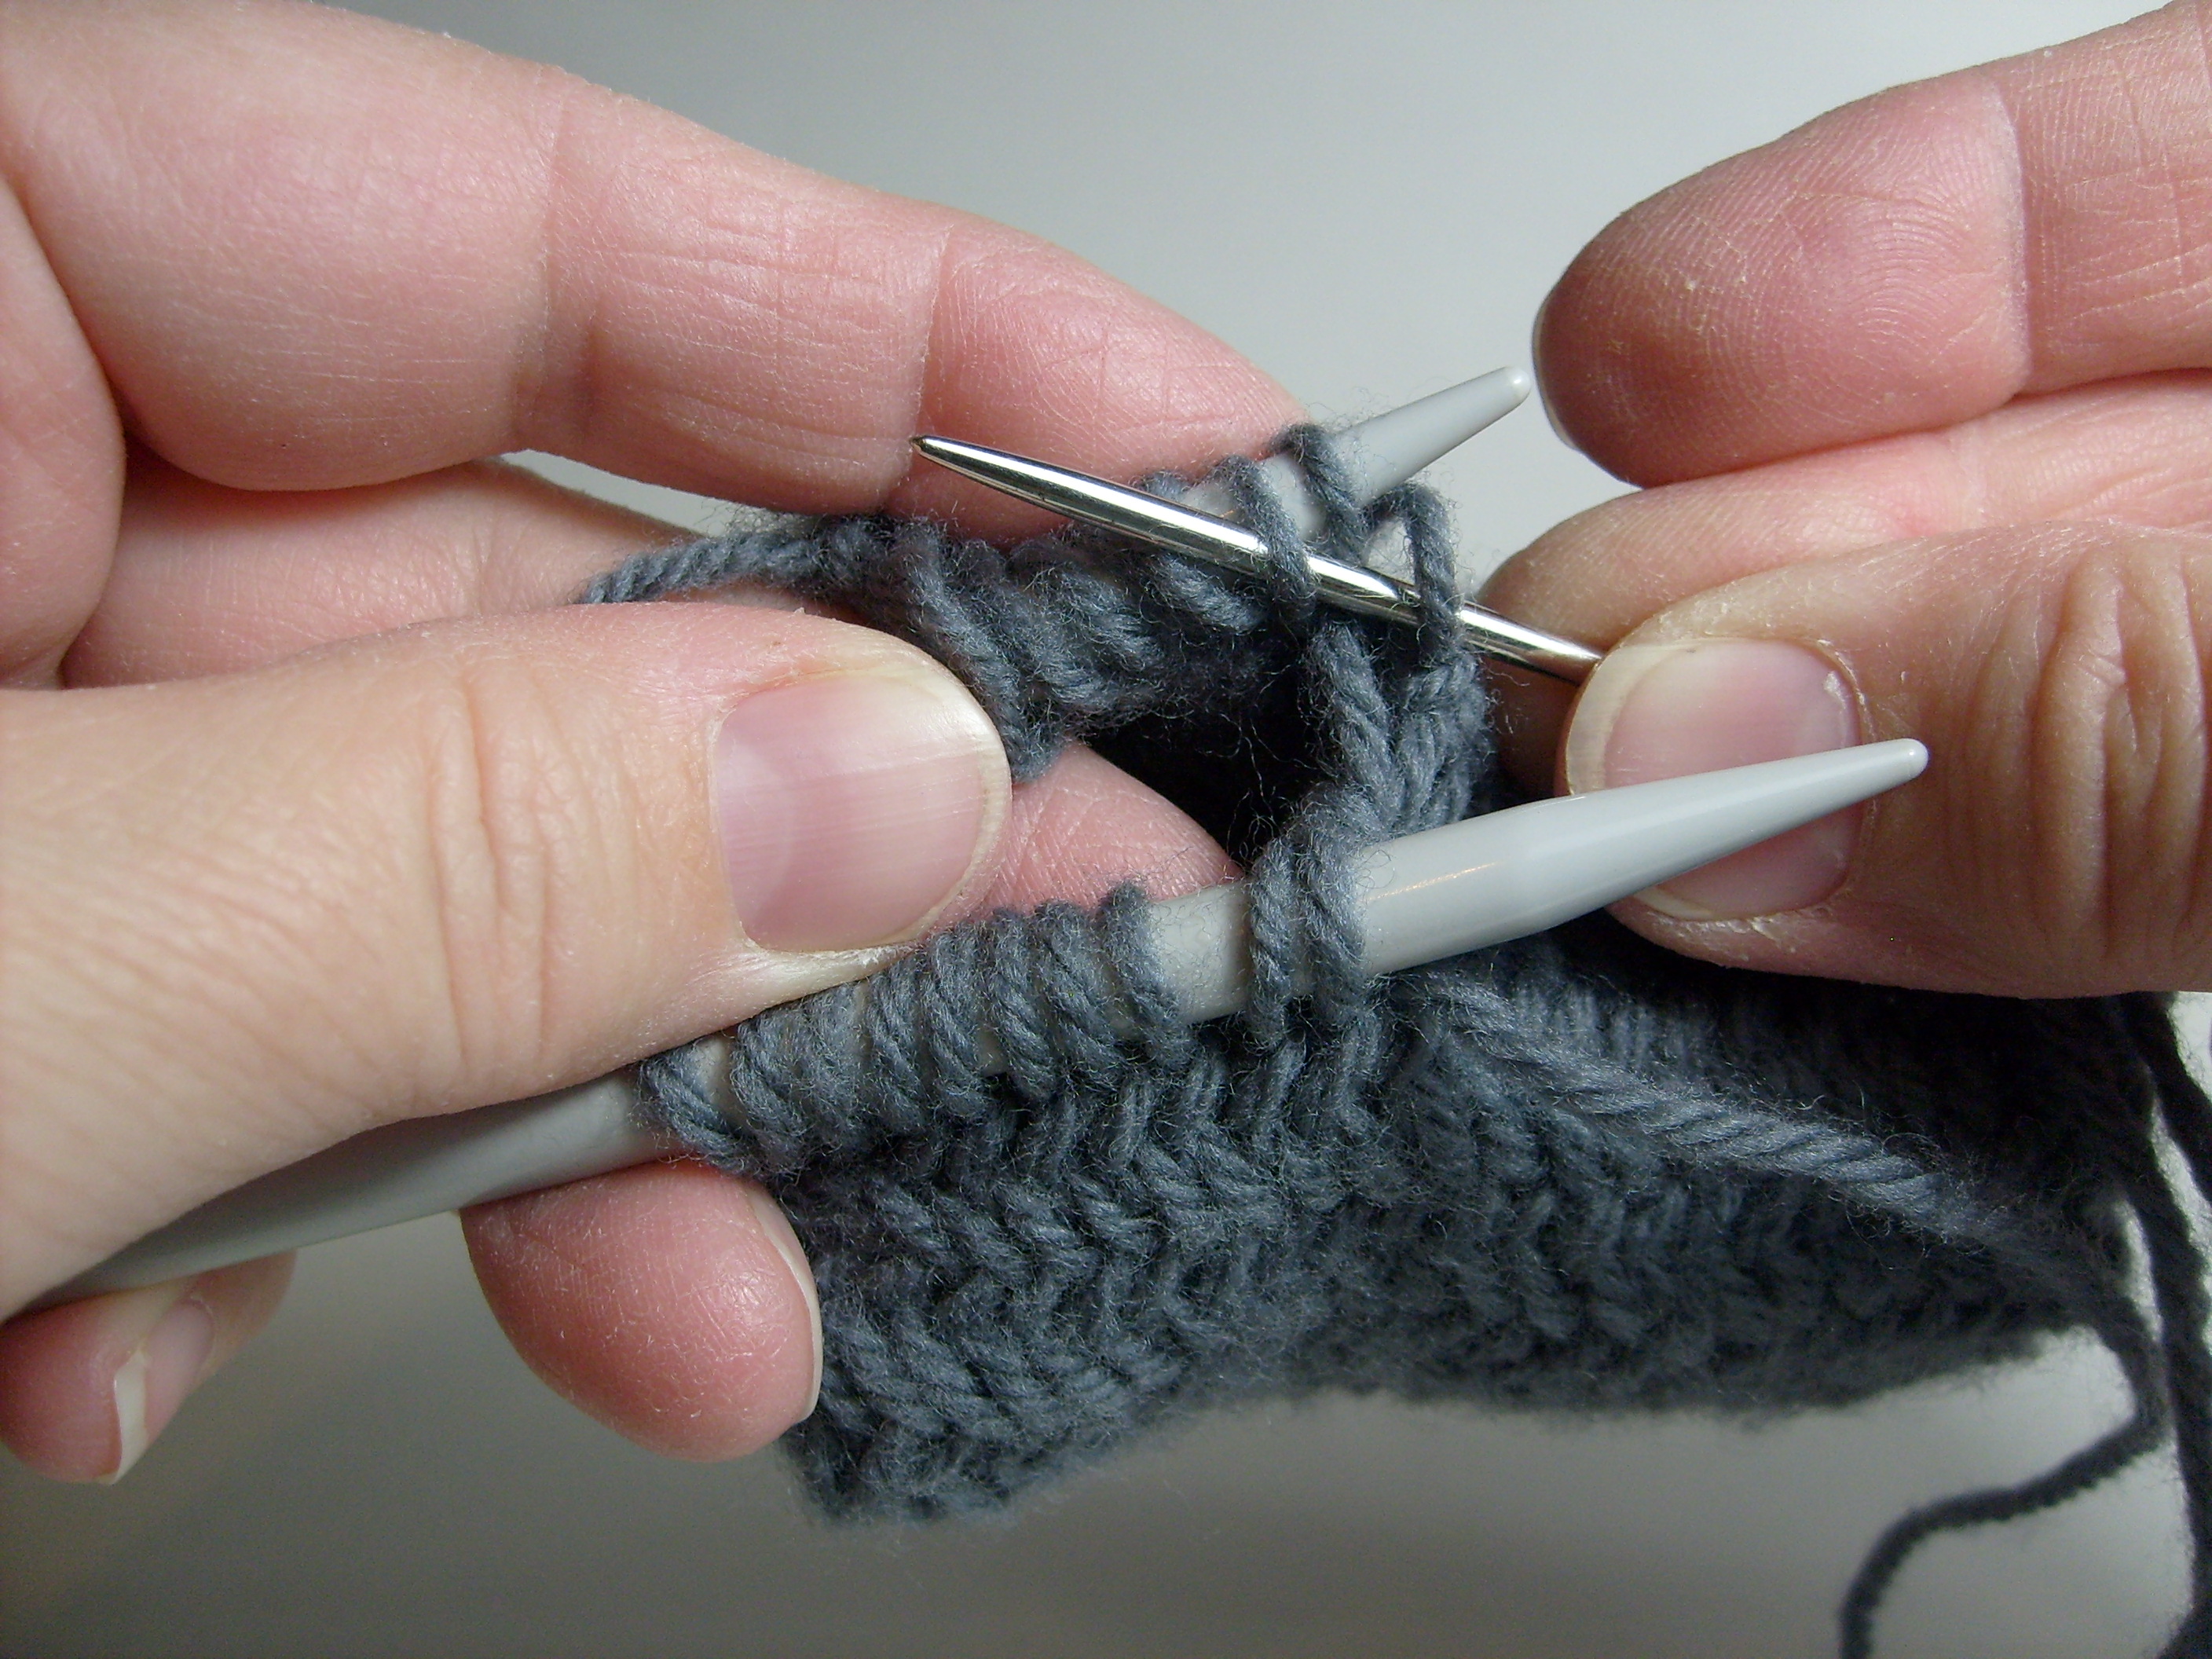
Repeat steps 1-4.
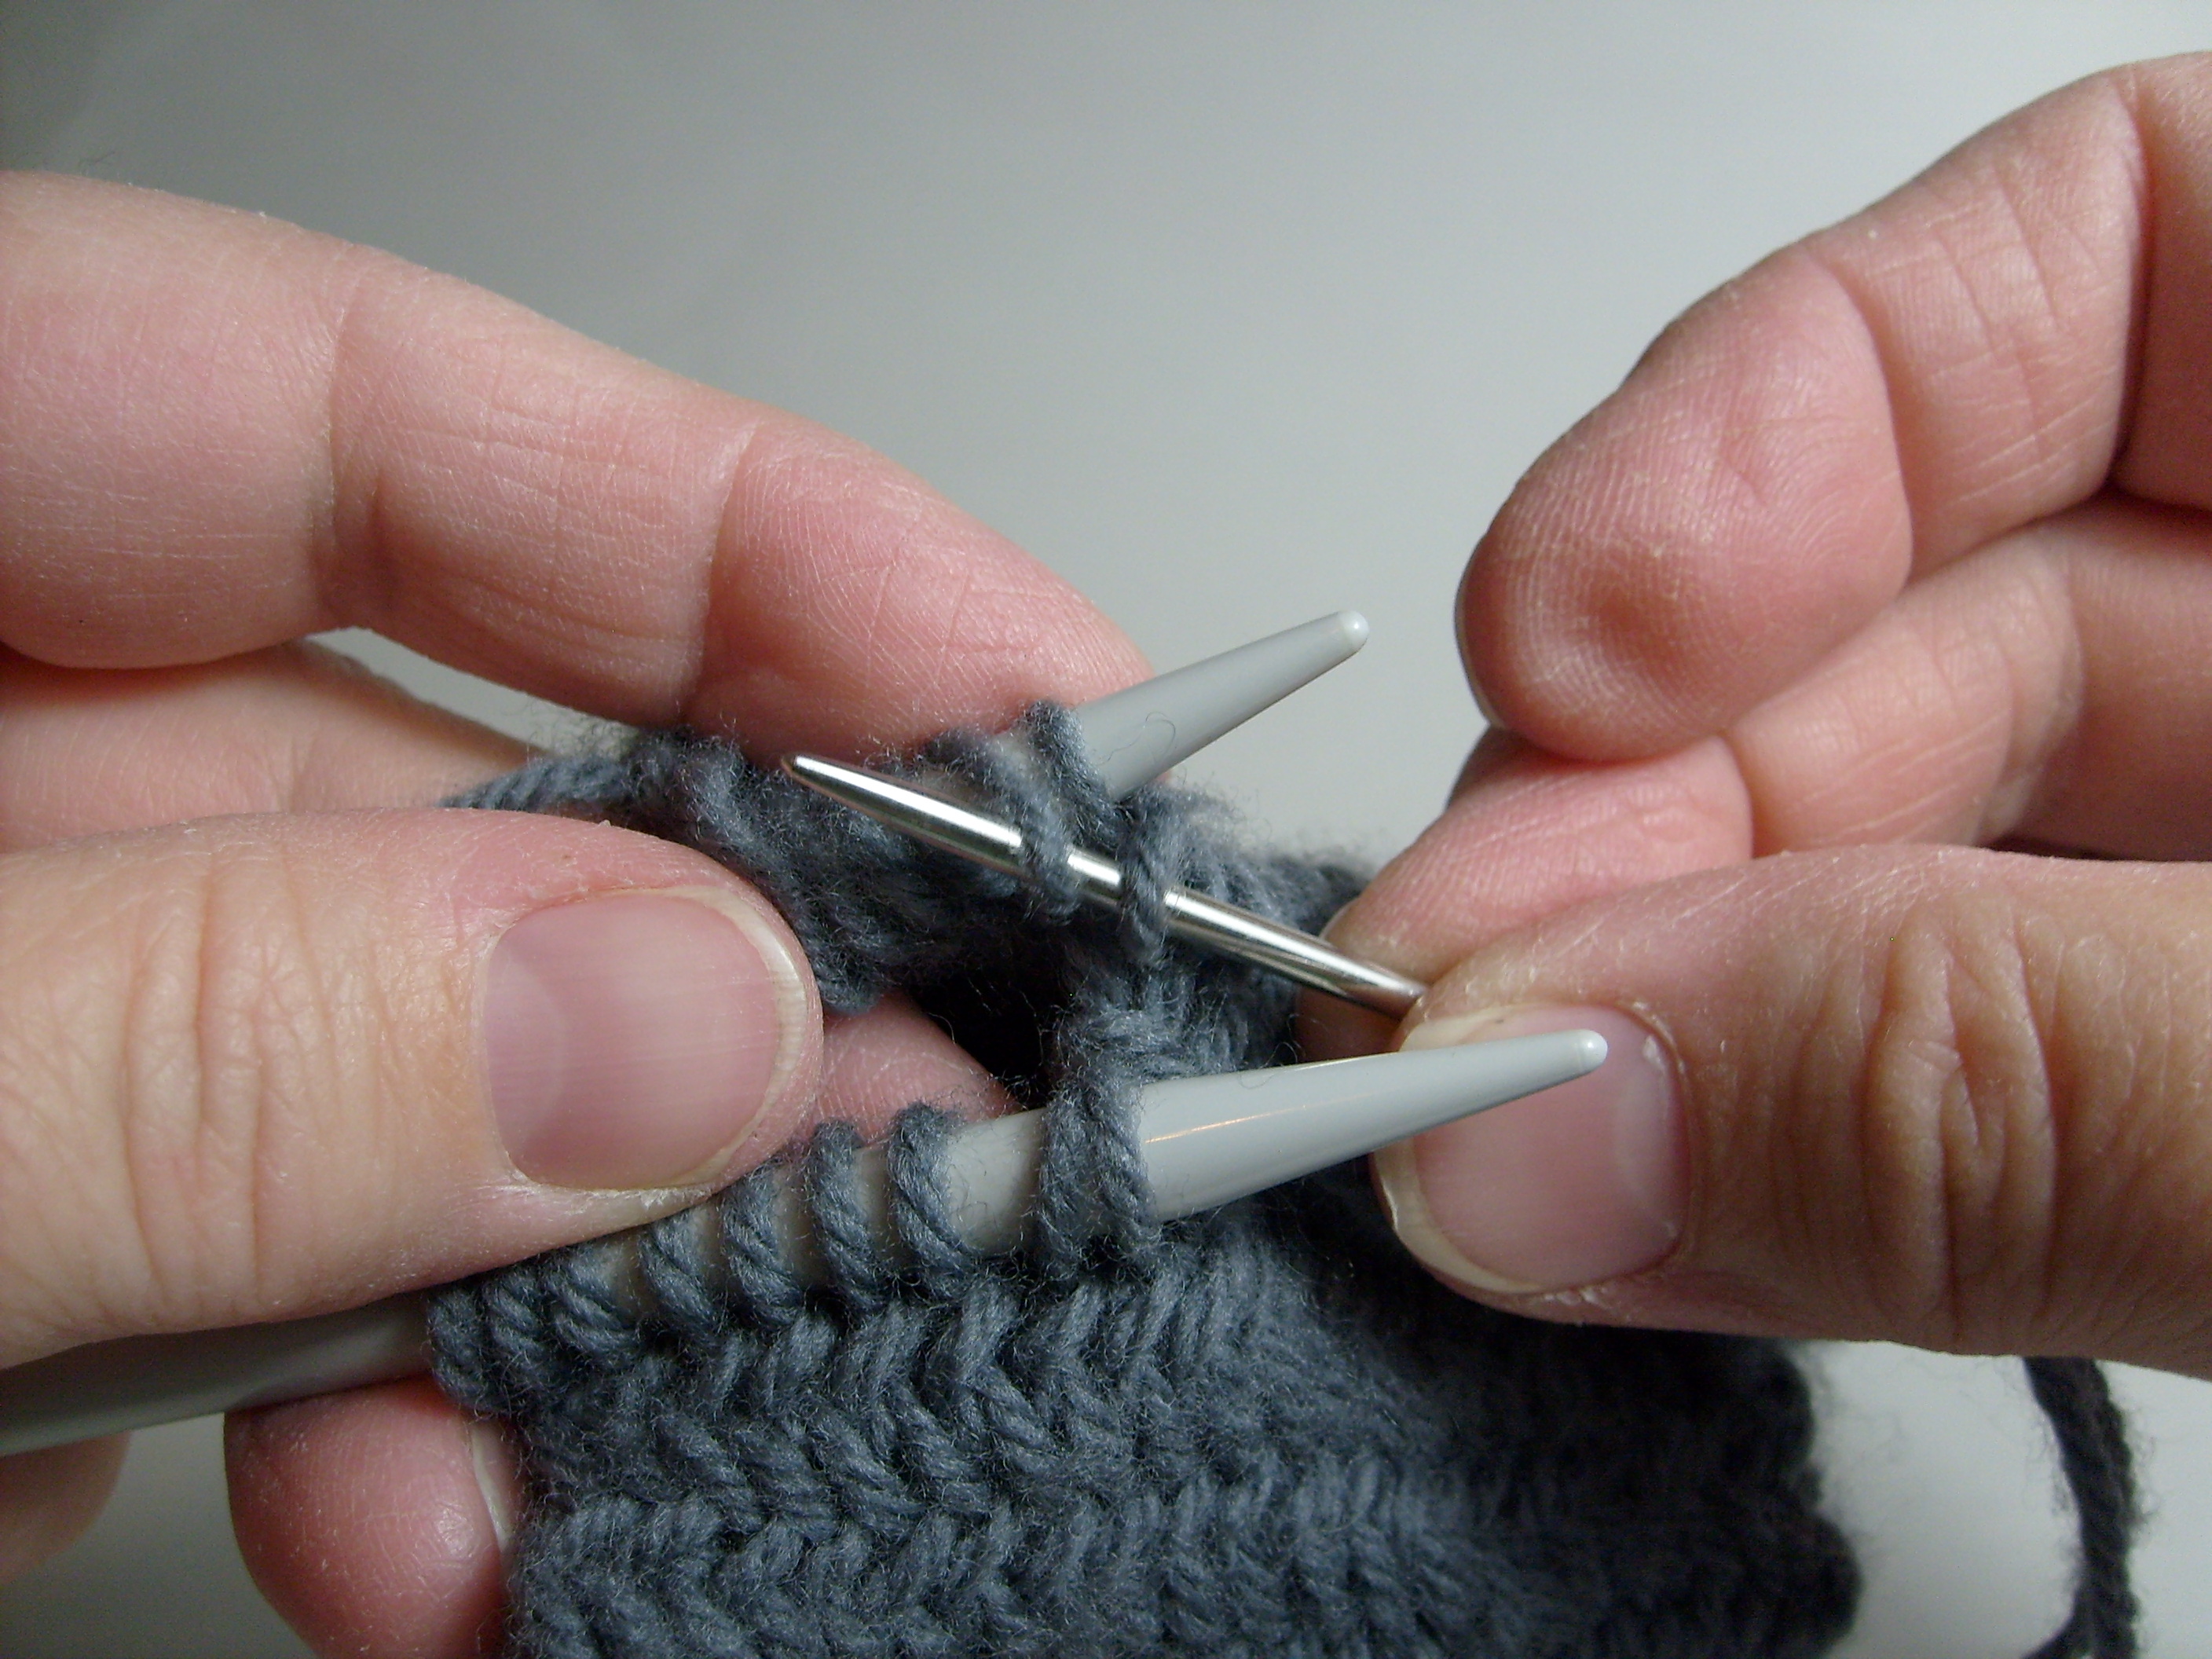
Make sure the thread tail doesn’t loop itself around your needle tips, the thread ends should lie under and between the ends of the knitting needles.
Finishing
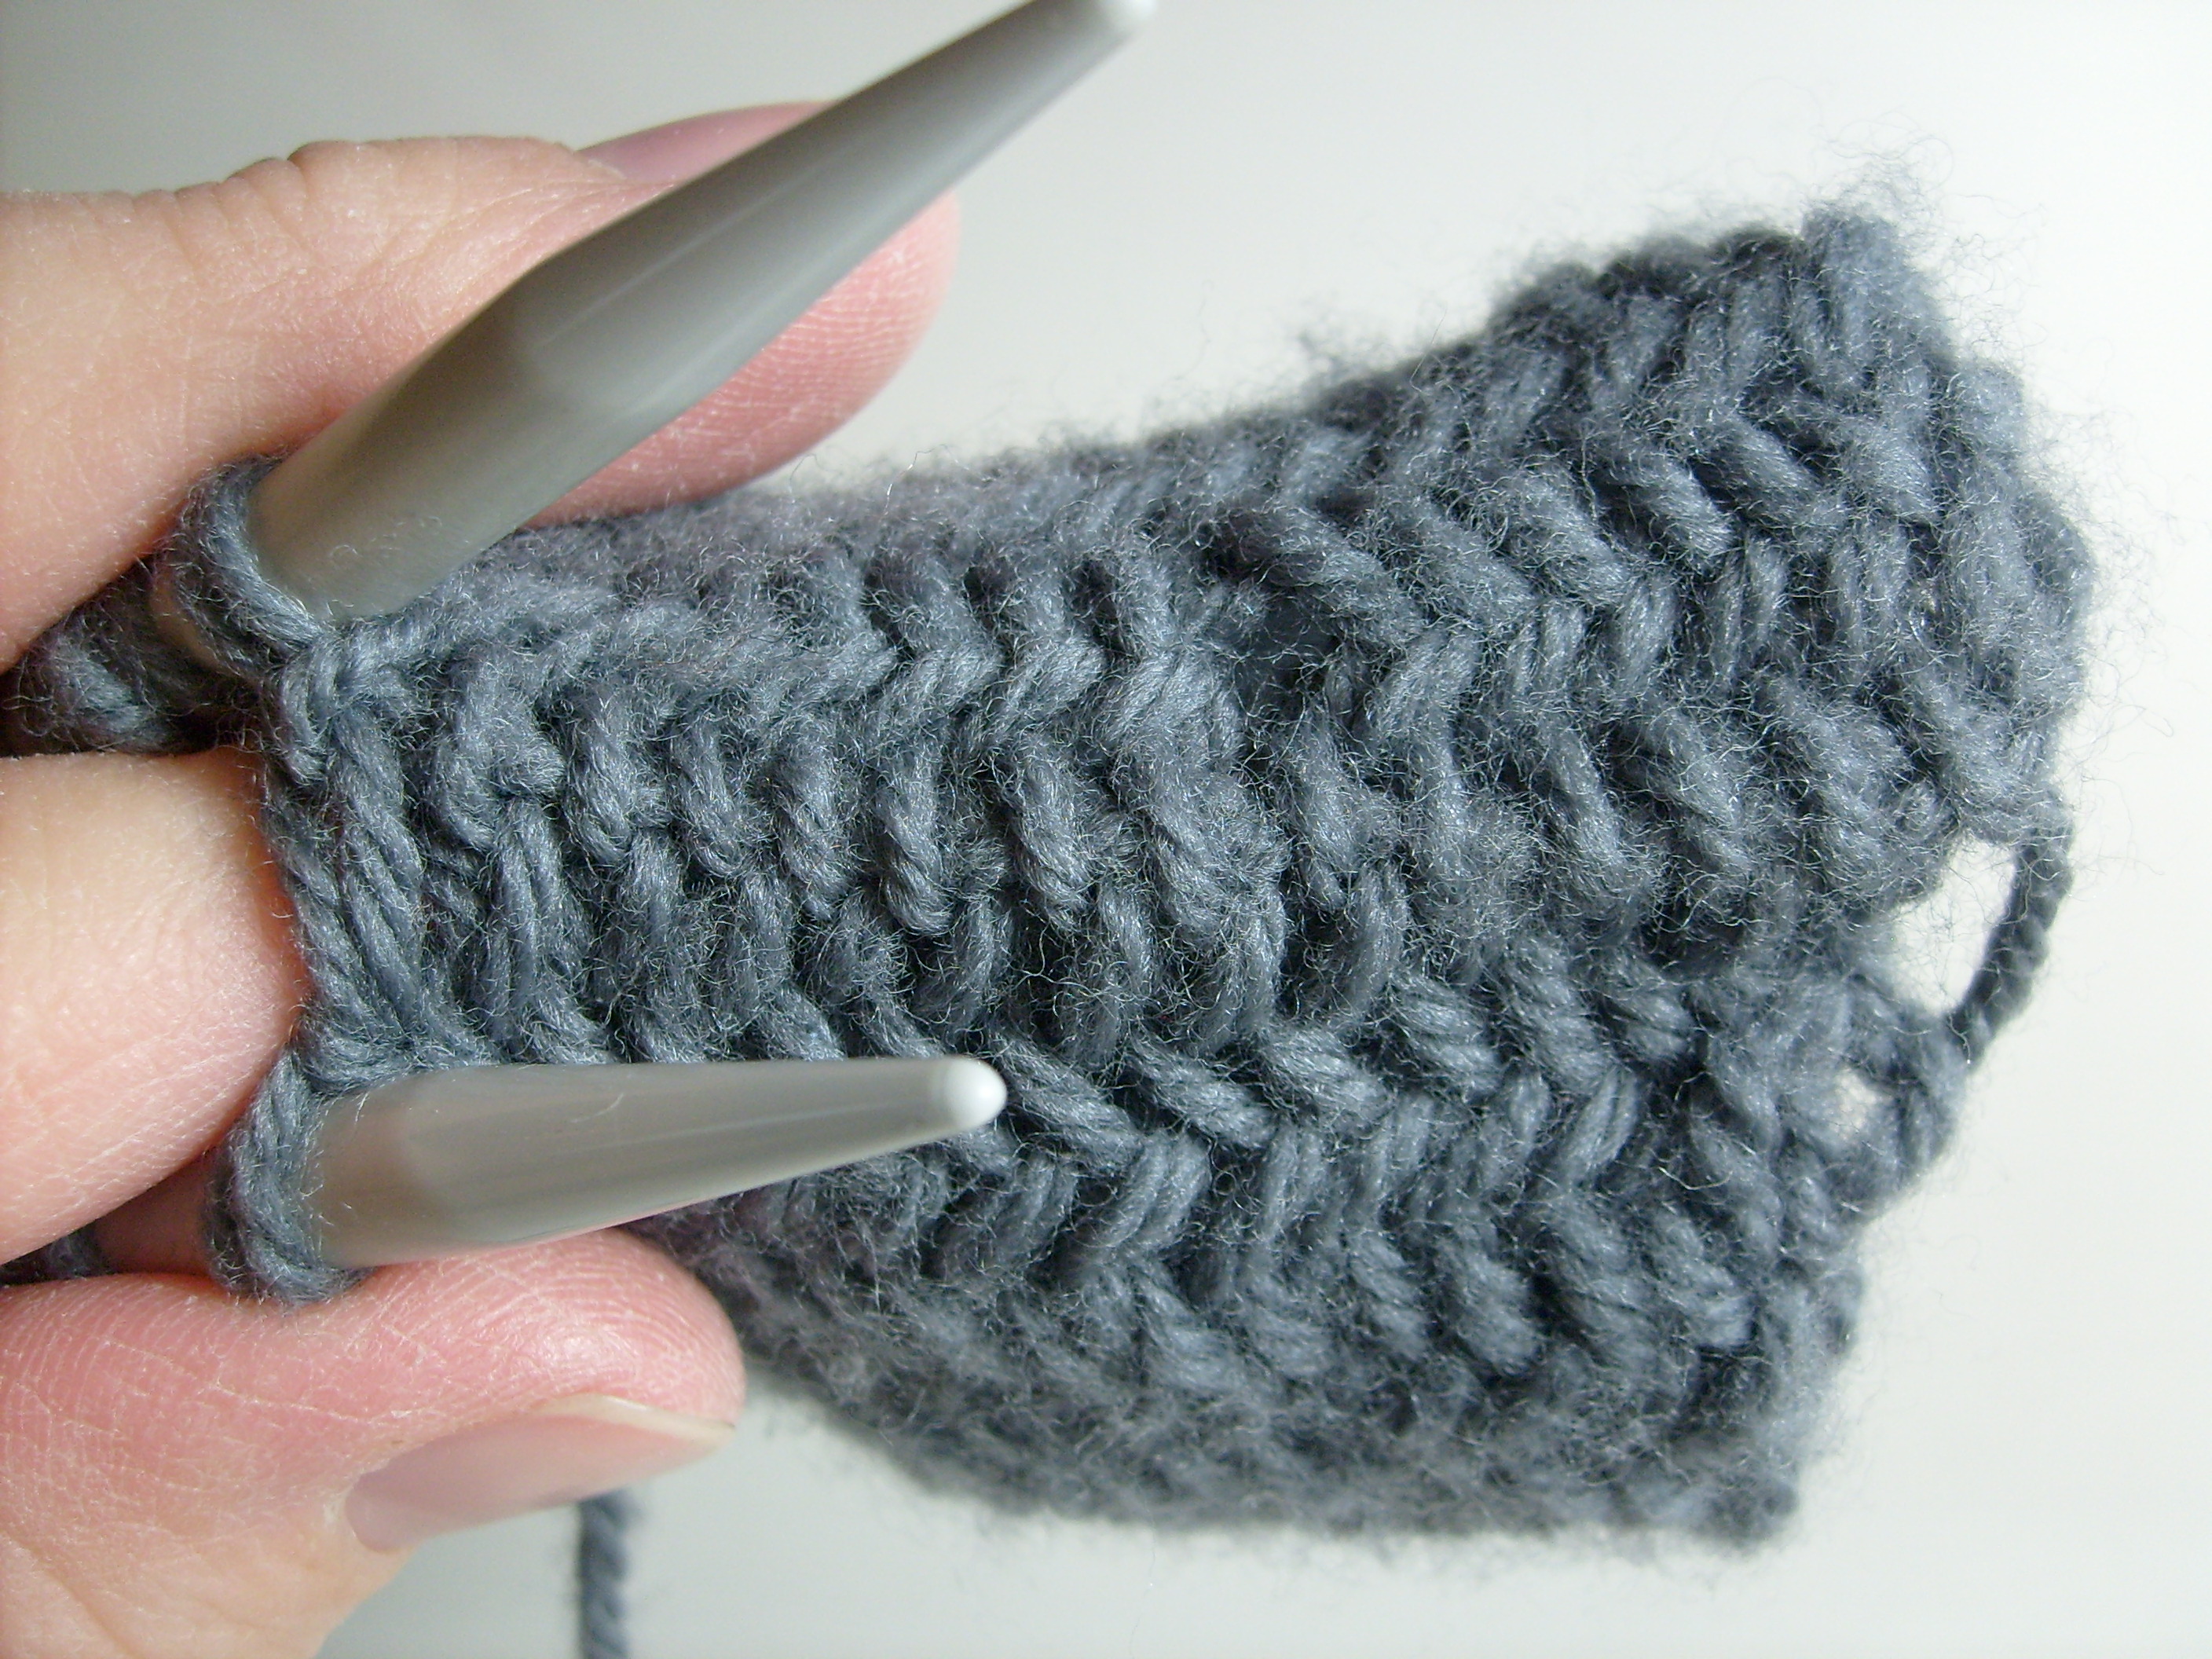
Weave all loose threads into the back of the bumps on the back of the fabric. Depending on the yarn you have tried, some light blocking may be needed. I’ve gotten away with skipping it if my wool is bouncy. As always, if your swatch looks limp, warped or lame, see what blocking does to it, then you know what your garment will need (or if you need a different needle size, yarn choice, or background music.)
Design considerations
The MHB fabric is stiffer and thicker than most knitted fabrics so avoid boxy designs. Include as much subtle fit as you can, and sufficient ease. Forget the line about knit fabric automatically adjusting to the body: this is a weird knit fabric and it needs lots of help adjusting to the body. Use fine yarn so you can wear your garment even if it is not blizzarding outside. This winter in New England, I could have happily worn some worsted weight MHB garments, but it was a record year for snow and cold.
If you love pockets, a stockinette liner in the yarn you are using should be fine enough to avoid an unsightly bulge, but if your pocket swatch looks lumpy, use a yet finer yarn, or resign yourself to carrying a bag when you wear your garment. MHB would make a nice bag!
I look to tailored garments and rustic tweed fabrics for inspiration. Fitted jackets, vests, skirts, even pants would be interesting. Anything from 1890’s tailor made women’s suits to Channel suits are fair game. I’d love to work out a deerstalker hat, but since both sides of the brim show, it will need to be doubled, and that could get VERY thick and lose the proper curve. Of course, mittens and slippers are good candidates for this stitch, and the stiffness could be put to good use in a basket.
Whatever you do, start off your design work with a large swatch. You will be sure of your numbers…and you might even be able to finish the edges for a potholder.